Our large measuring gauge is great for measuring kids' feet in the comfort of your own home. The large gauge measures the length and circumference of your child's feet to find their Start-Rite shoe size and width fitting - making getting the right size first time a doddle.
To help, each gauge comes with clear and easy to follow instructions, however, should you need more help, you can find a video showing you how to use the gauge below.
It’s perfect for kids who can stand on their own and have a shoe size small 9 or larger - or for those from around the age of 3.
If your child’s younger, or has smaller feet, then try our small measuring gauge.
Every gauge will contain detailed instructions guiding you through the simple steps to measure your child’s feet. If you’ve misplaced your instructions, then you can view (and even print) them below:
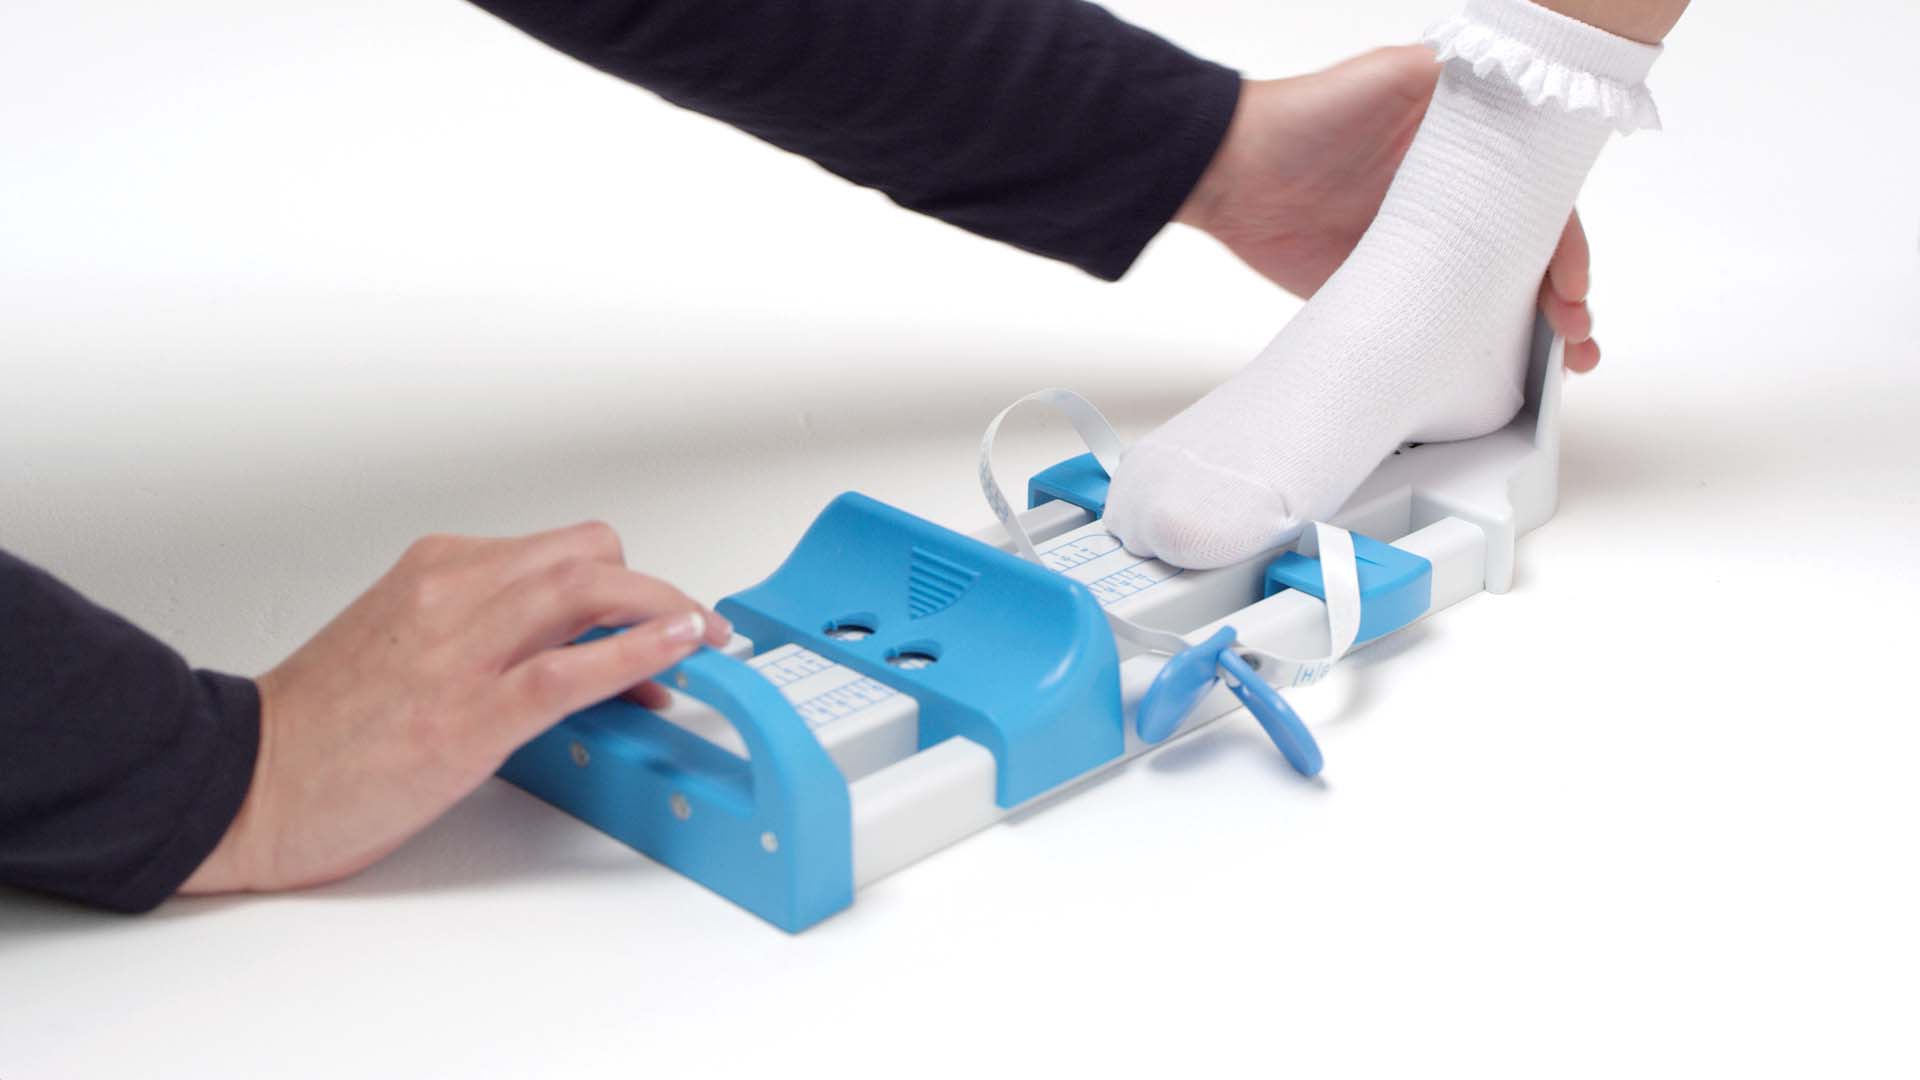
Place the gauge on a hard floor and with your child sitting, guide one foot into the gauge. Ensure the heel is against the back rest and the socks are the same thickness as those they'll wear with the shoes. *The measurement won't be accurate if your child is standing.
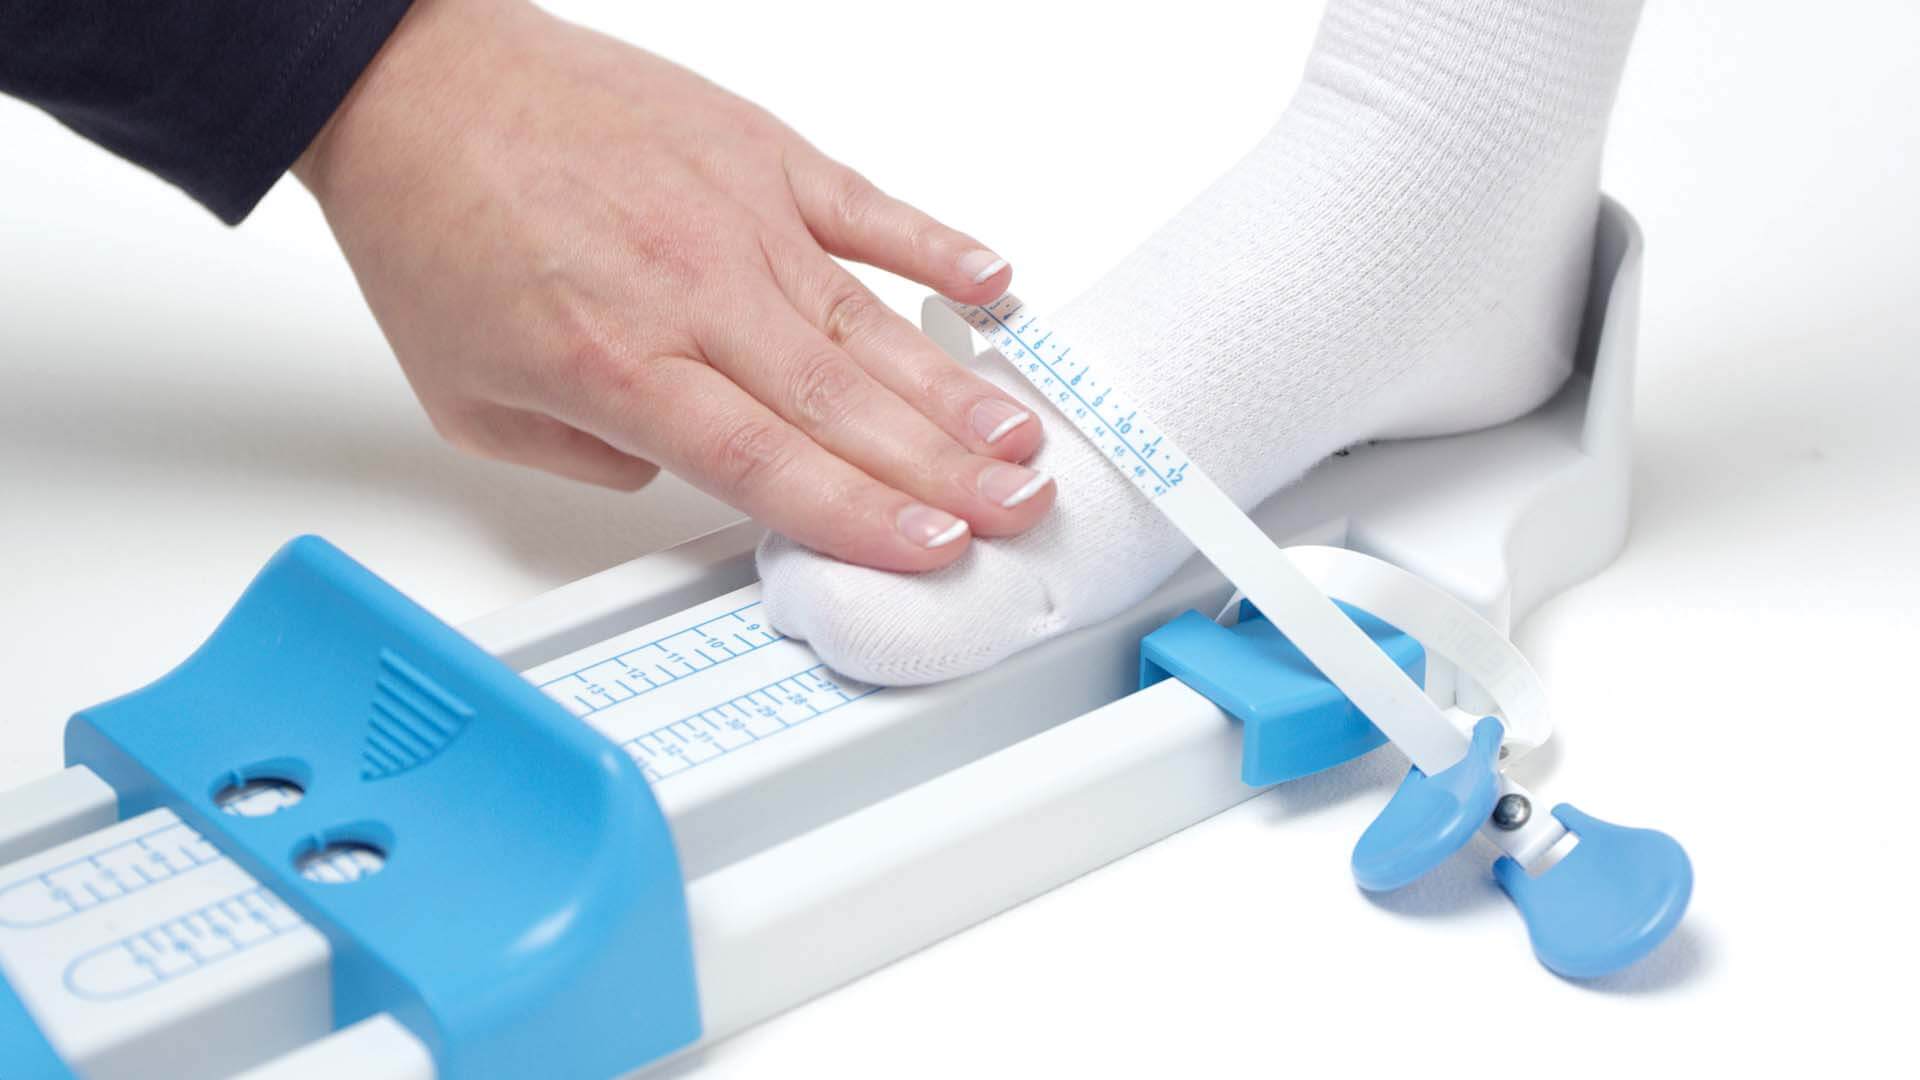
With the heel in place, ensure that the foot and toes are laying flat along the gauge.
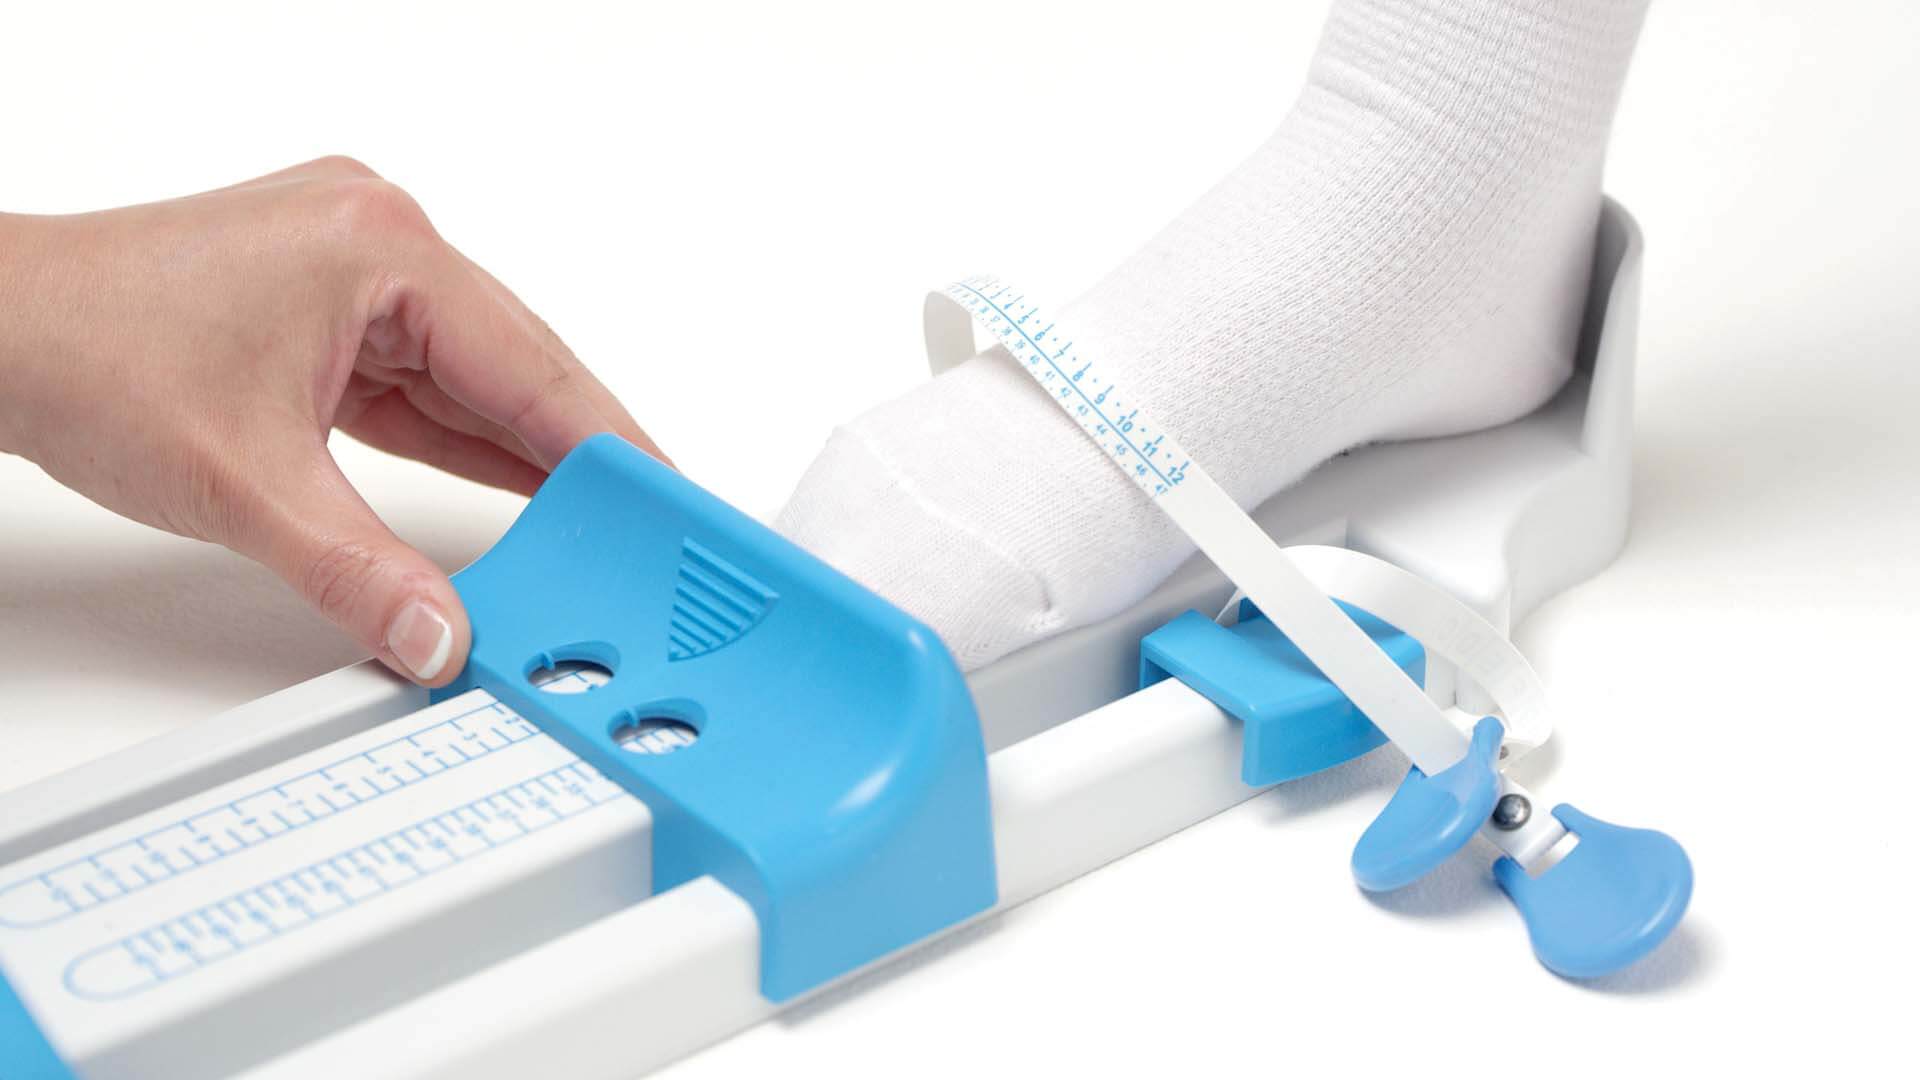
Push the length slider forward so that it rests lightly against the longest toe.
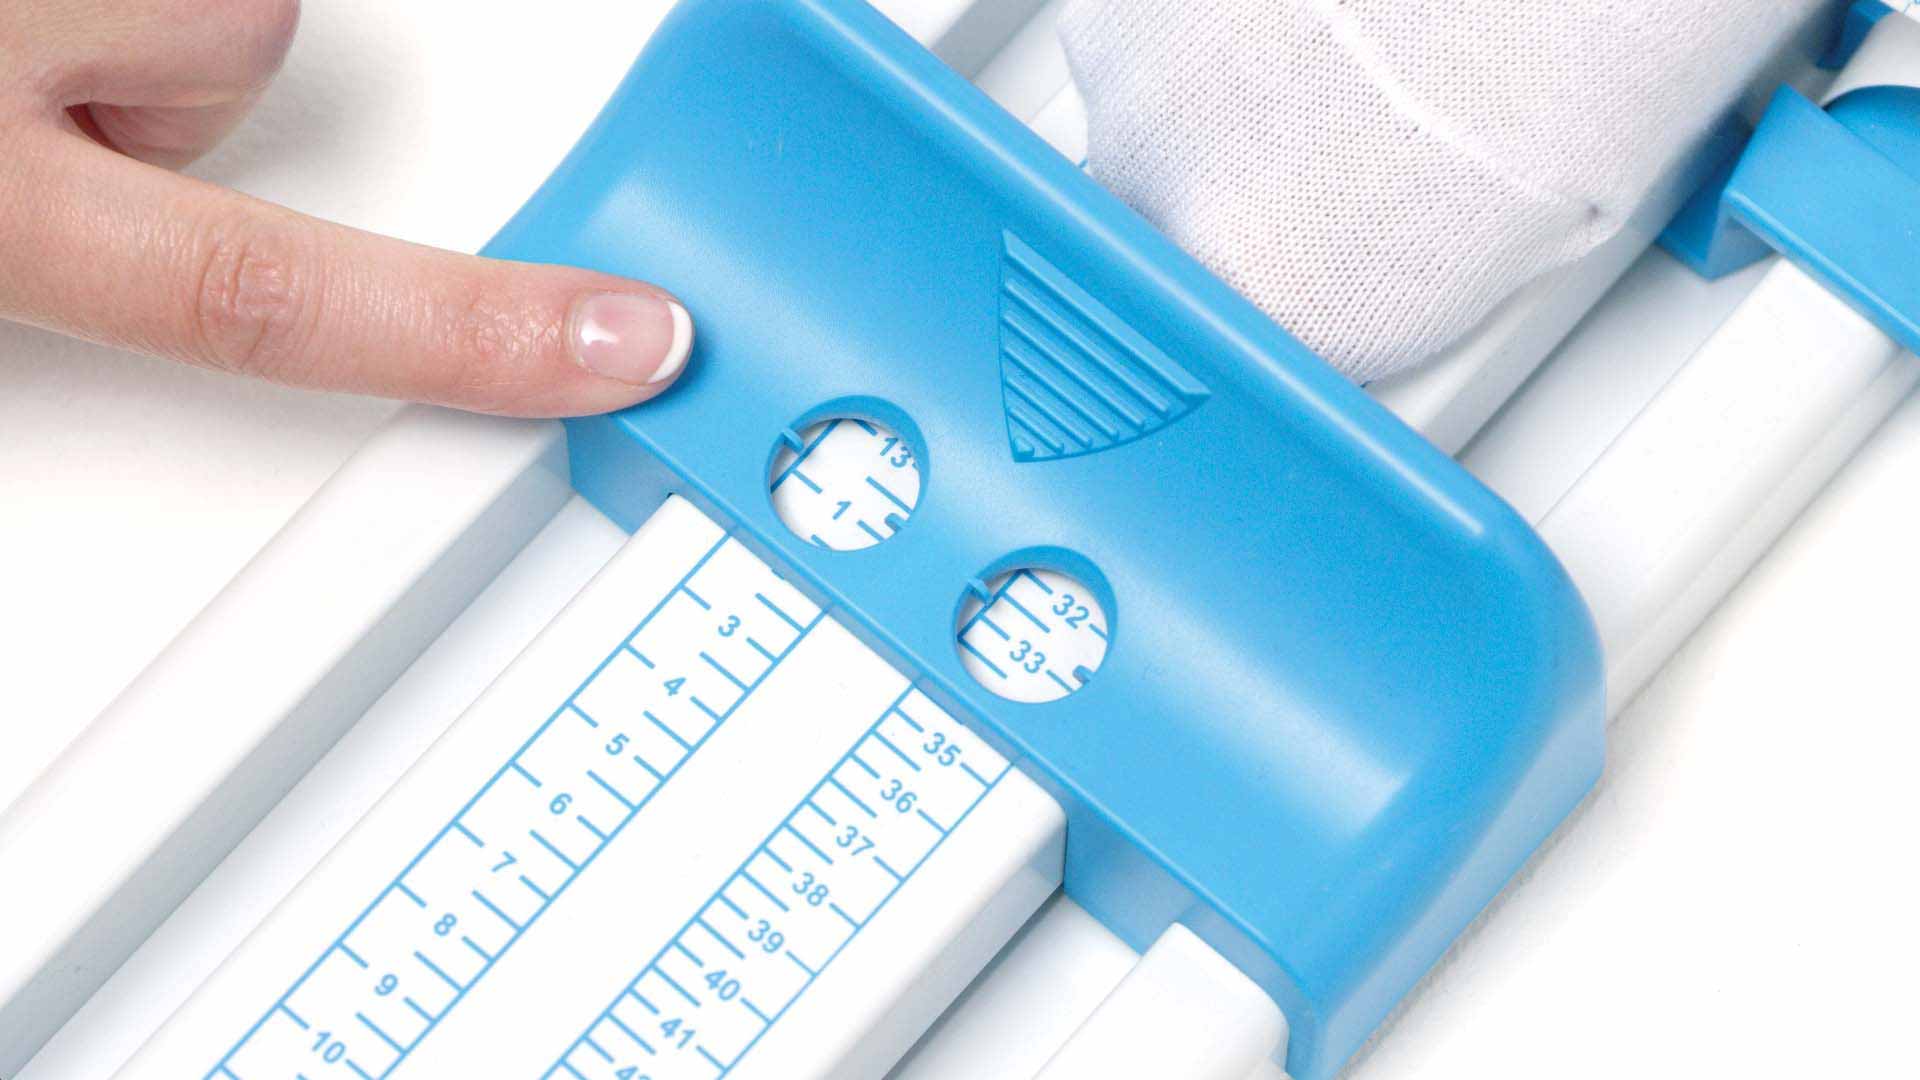
Take a note of the size as shown by the line in the left circle on the slider. This is their UK shoe size. If the line is in between sizes, go up to the next full or half size. The line in the right circle is the European size.
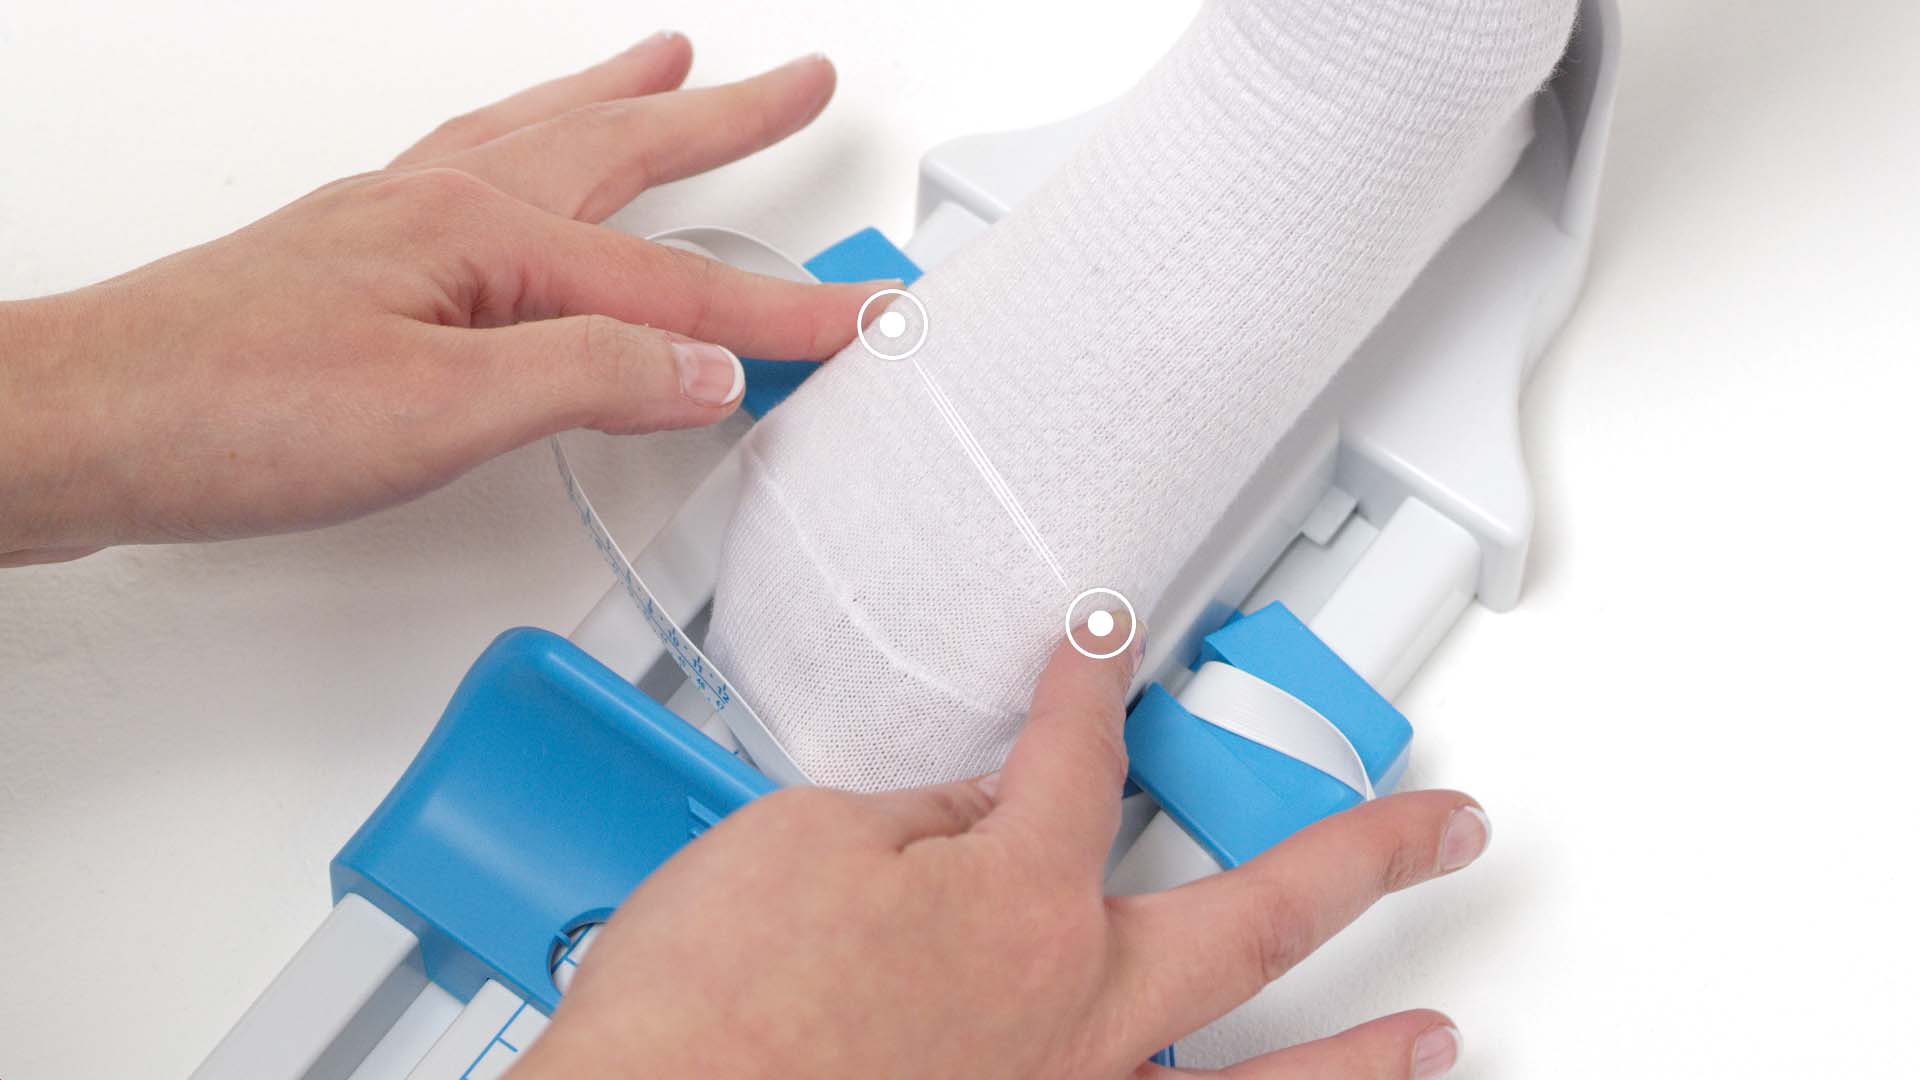
To measure the width, first run your fingers down either side of the foot, you should be able to feel the toe joints. These are the bumps on either side of the foot just below the big and little toes.
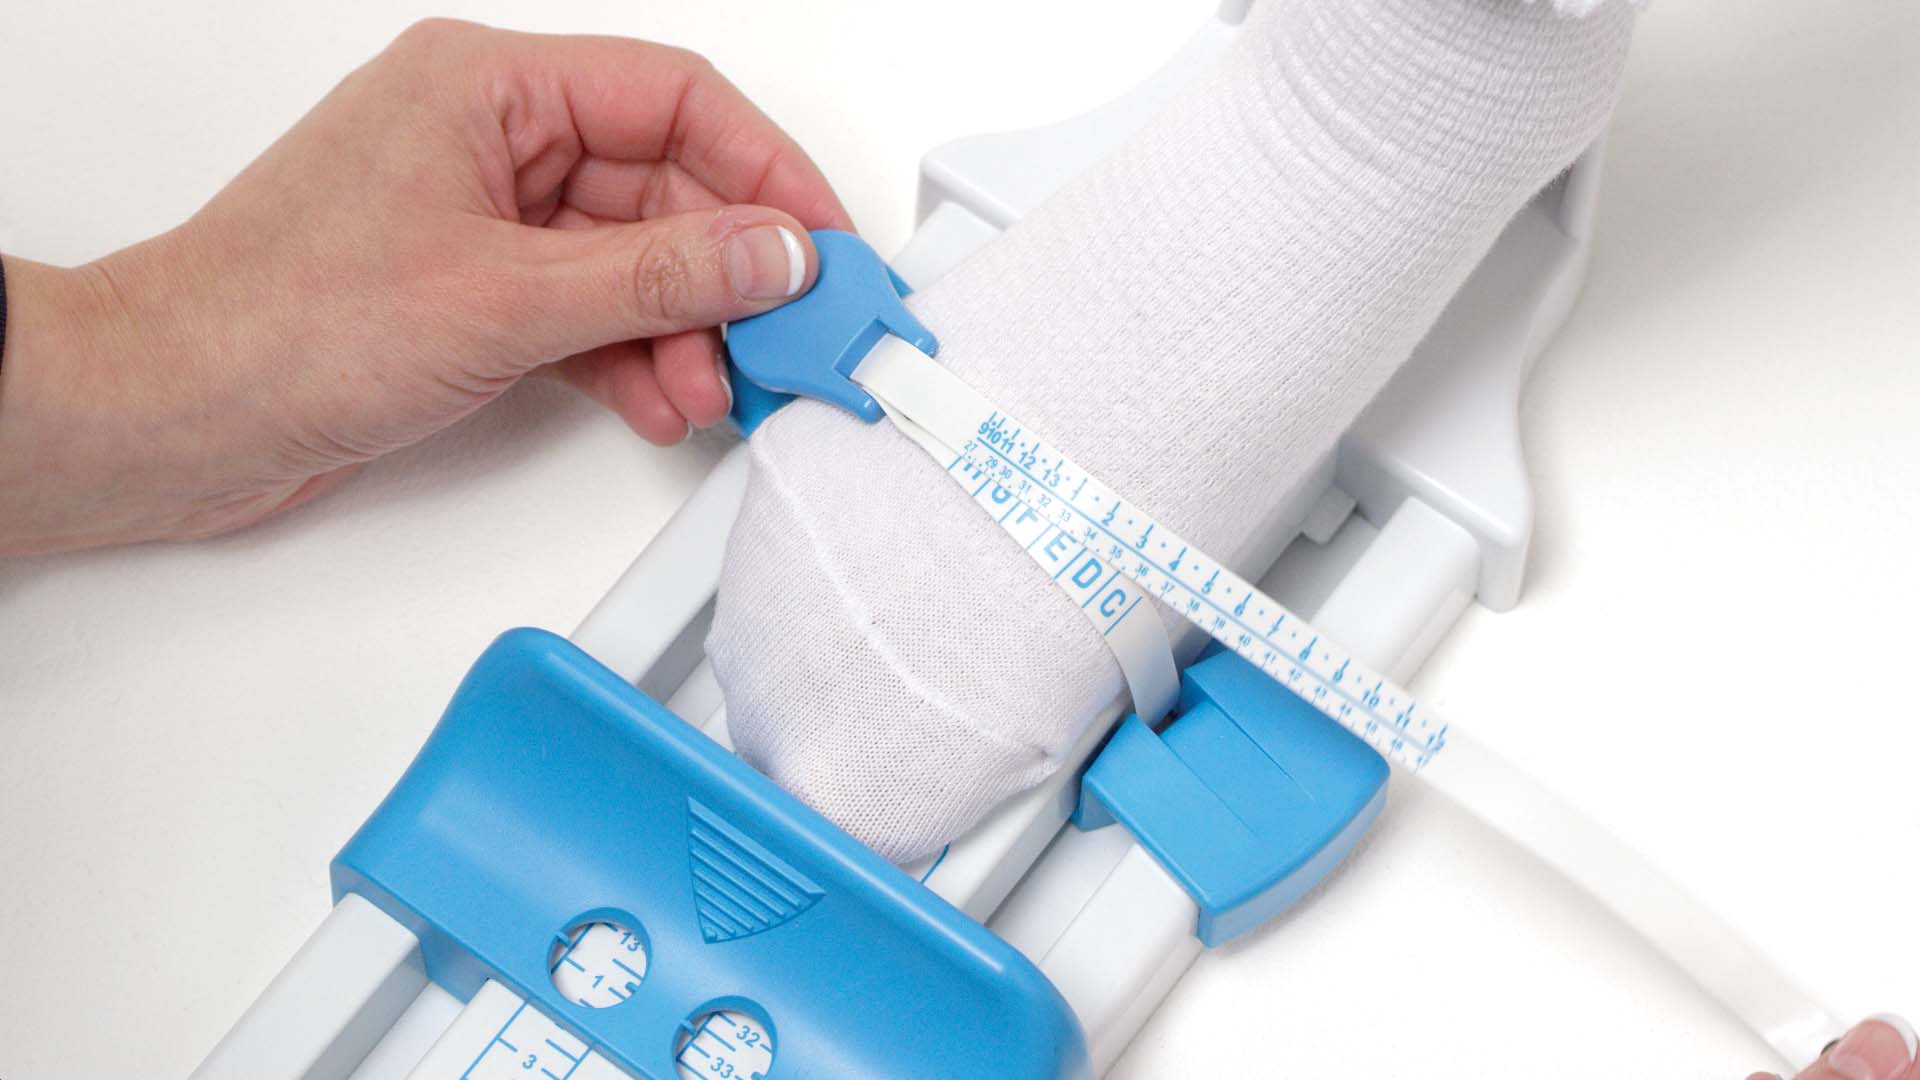
Position the tape so that it sits around the widest part of the foot. This is the part of the foot from the big toe joint to the little toe joint, which are the bumps you felt for in step 5. You are likely to have the tape at an angle, this is correct.
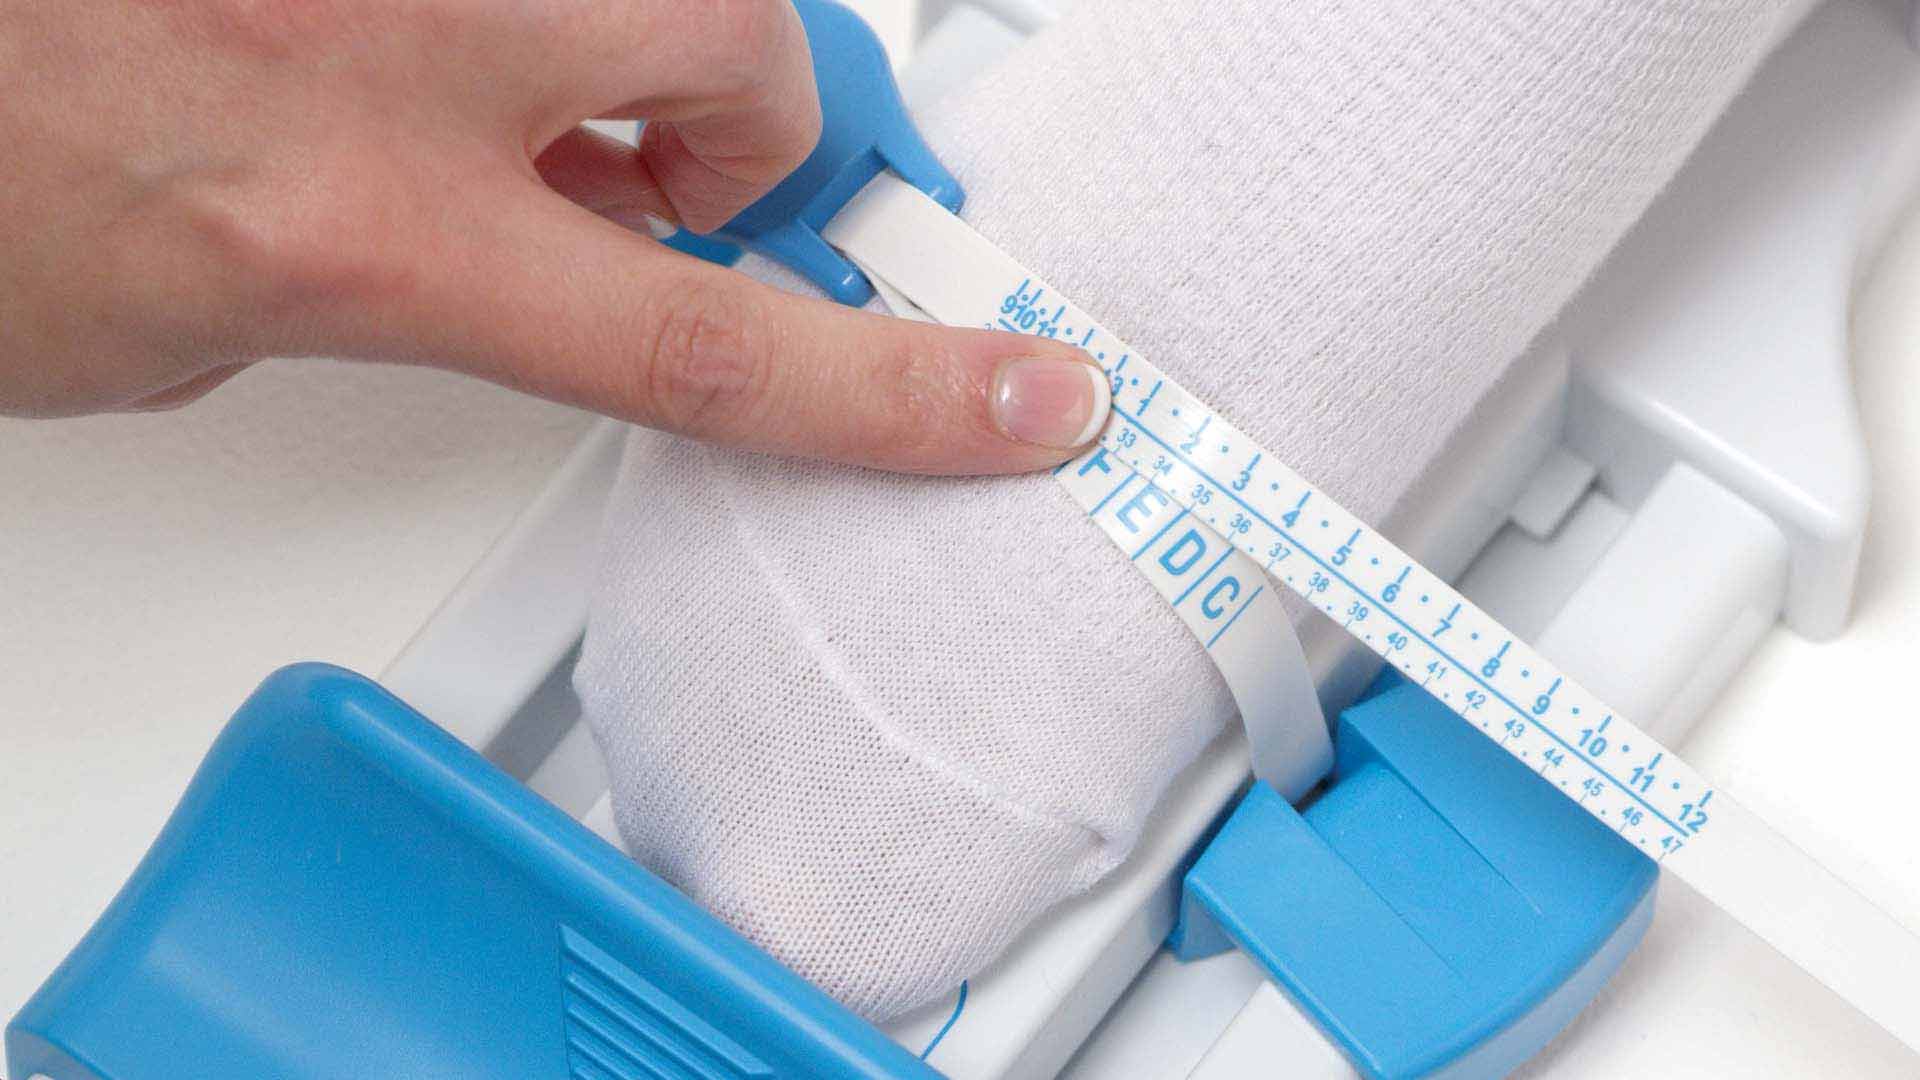
Pull the tape gently so that it is snug around the foot, but not tight, and lay the tape back on itself. Find the shoe size on the tape that you noted down in step 4. You will see that this shoe size corresponds to a letter on the tape beneath. This letter is the width fitting.
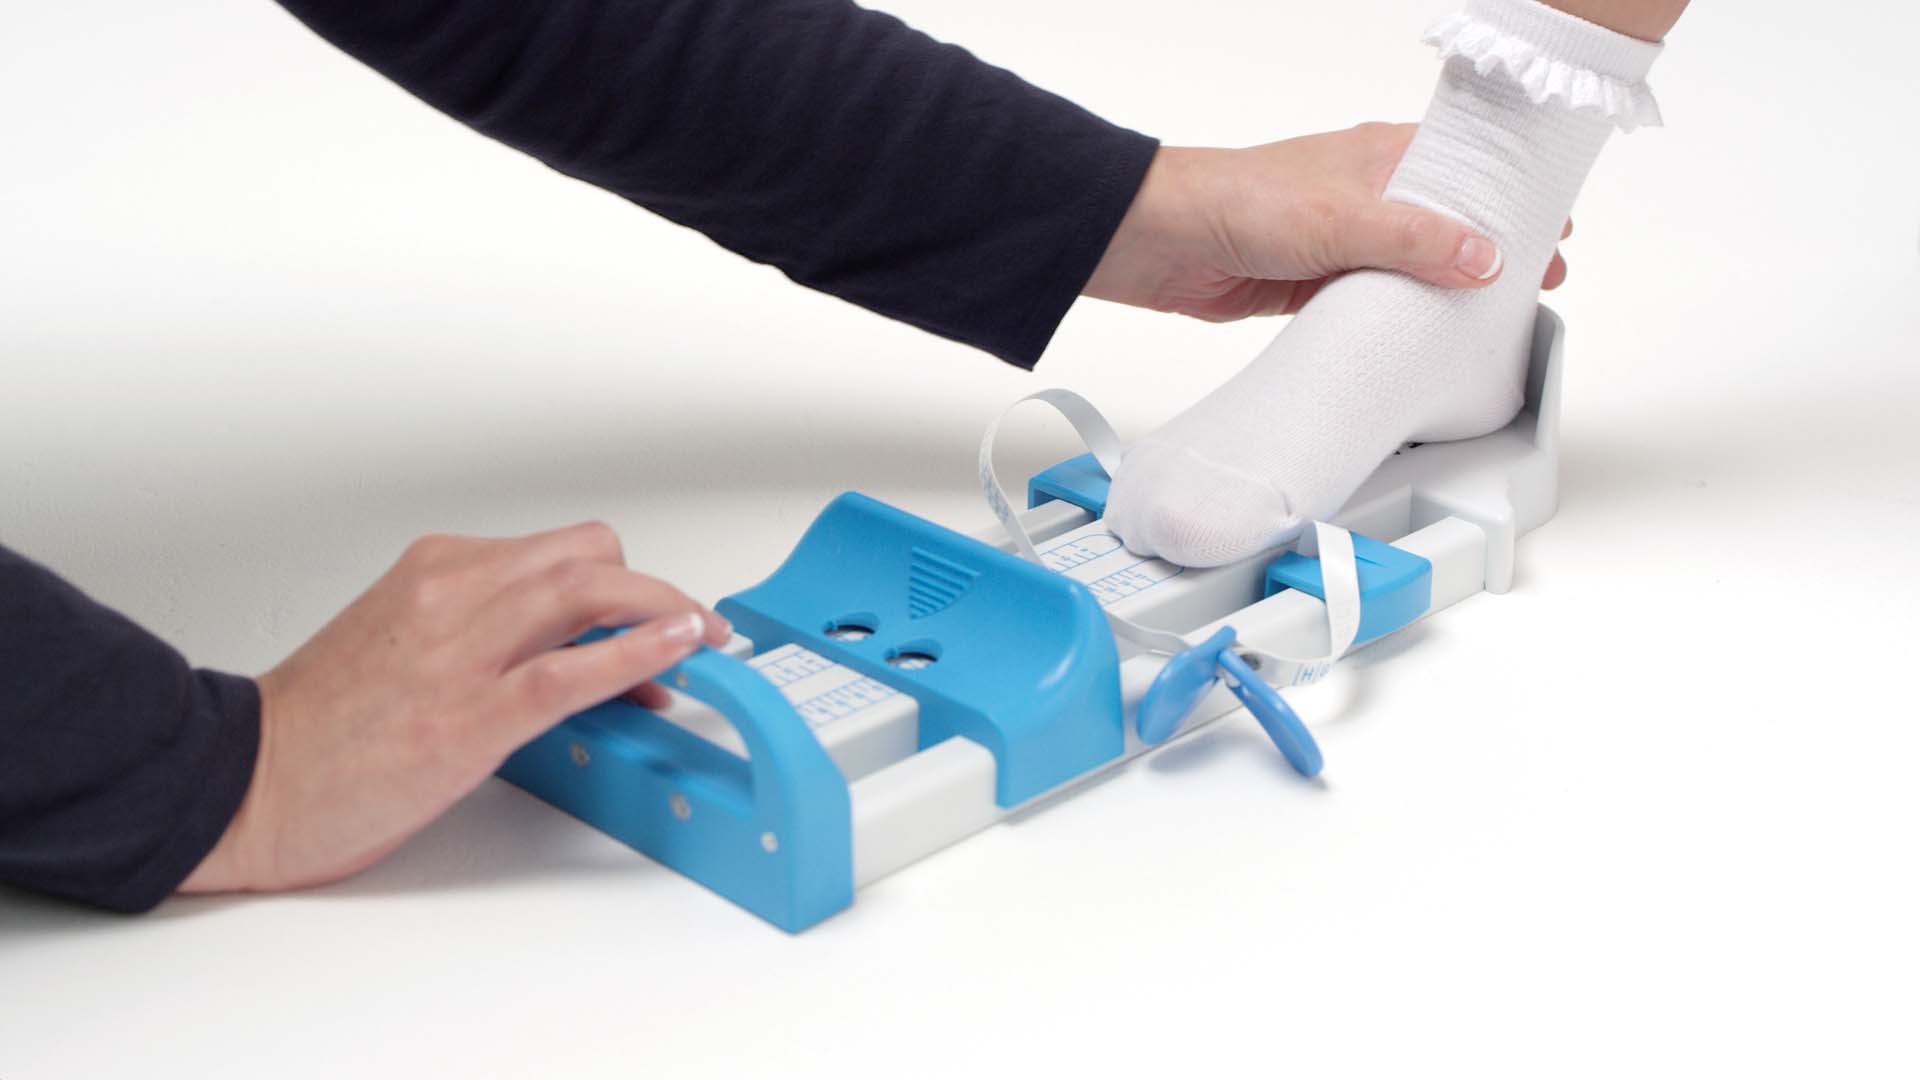
Repeat steps 1 to 7 to measure the other foot. It’s not uncommon for one foot to be bigger than the other and your child’s shoe size will be the size of the longest foot and the width of the widest foot. Once your shoes arrive, use our ‘Check the Fit’ guide to ensure the shoes you have chosen are a good fit.
Alternatively, if you prefer watching a video detailing the steps on how to measure children’s feet, we have this below: